Everything you need to know about the Mail Blaze Brand Hub
What is the Brand Hub:
The Mail Blaze Brand Hub helps you to manage your subscribers journey by giving you an overview of all your forms and pages as it relates to your subscription workflows as well as offering you the ability to create custom landing pages for dedicated campaigns.
Benefits of the Brand Hub:
- You’re able to set your default forms, pages and emails up in the Brand Hub and assign them to other lists without needing to recreate these assets for different lists. This means you can save lots of design time and create seamless experiences for your audience.
- Seeing all your forms, pages and emails related to your subscription workflow in one dedicated place allows you to easily understand your subscribers journey and make adjustments where needed as you grow or refine your journey over time.
- Being able to create landing pages gives you more freedom to create dedicated experiences for your audience and grow that audience over time, without the need to involve a developer on your side.
Landing Page Builder
Our landing page builder allows you to easily build beautiful, functional landing pages to suit your needs using the same drag and drop features you’ve come to love when creating your emails - with a few extras of course.
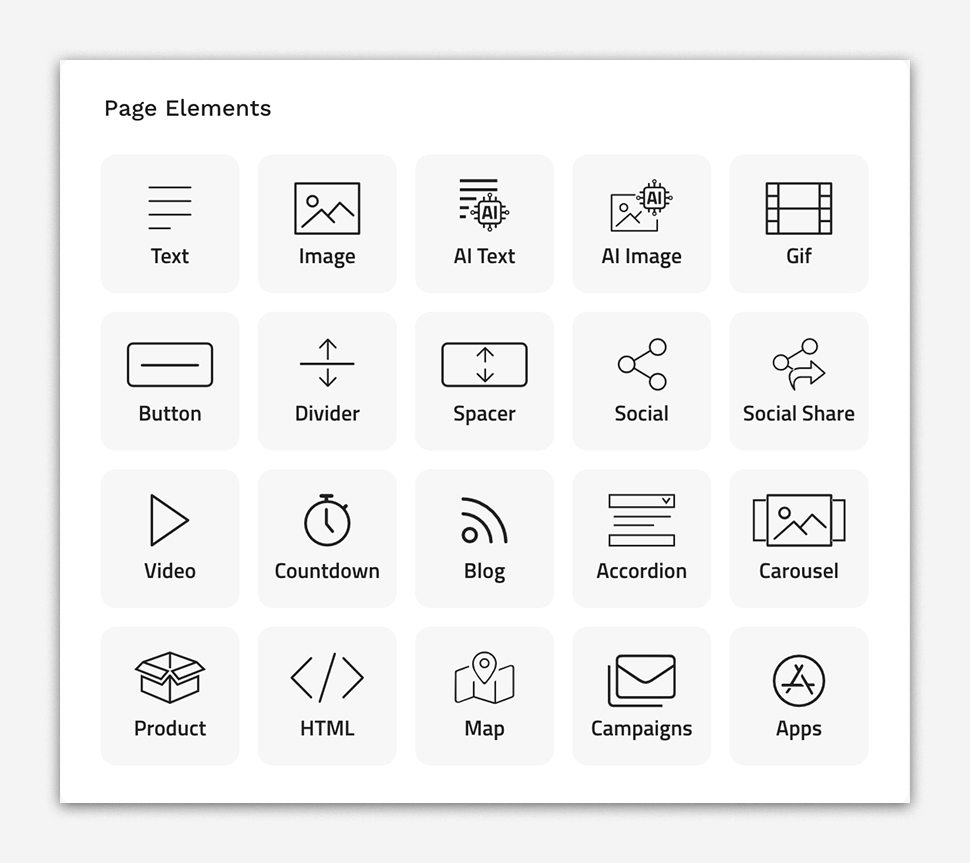
Below you’ll see all the content blocks available in the Landing Page Builder which are:
- Text
- Image
- AI Text
- AI Image
- GIF
- Button
- Divider
- Spacer
- Social
- Social Share
- Video
- Countdown
- Blog
- Accordion
- Carousel
- HTML
- Map
- Campaigns
- Apps
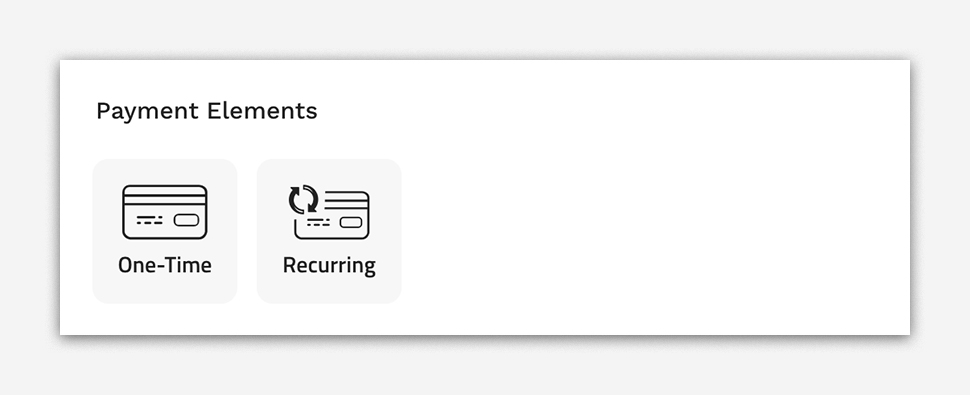
You’re also able to add Surveys and Forms as well as Payment Elements for recurring or one-time payments.
Please note the payment elements are currently powered through Stripe.

Learn more about creating Landing pages here.
Brand Hub Modify Defaults
To ensure consistency across your forms, pages and emails related to your subscription workflow processes you can set defaults. This means you only have to create the elements once and can then select to apply them across your other lists. This ensures you’re saving time by not having to recreate everything per list. You’ll see a HOME icon next to a default and at a glance be able to see which lists the default was applied to.
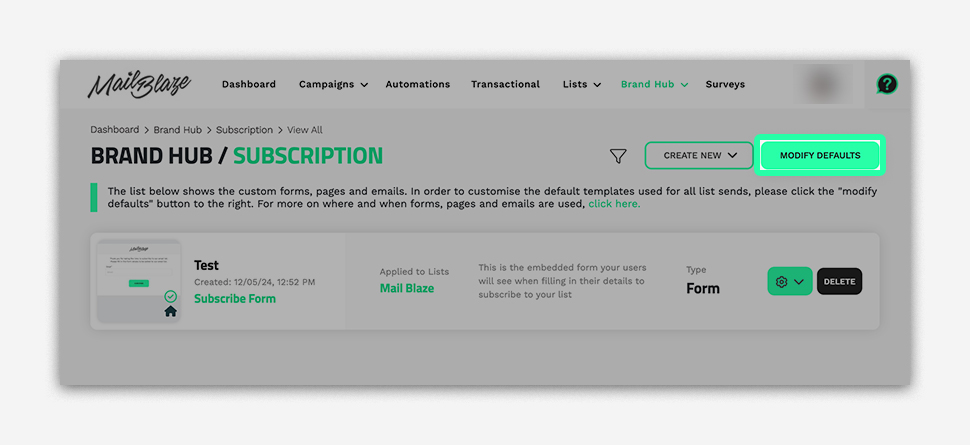
Log in to your Mail Blaze account, go to BRAND HUB
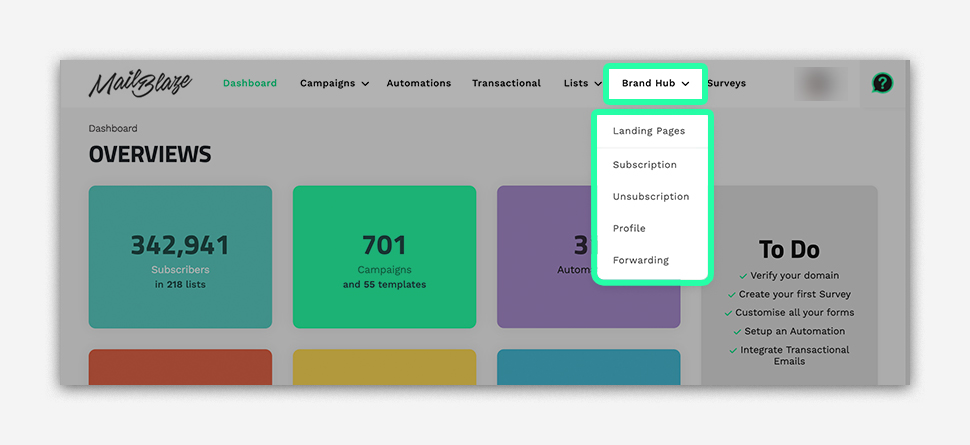
Click SUBSCRIPTION to view your forms.
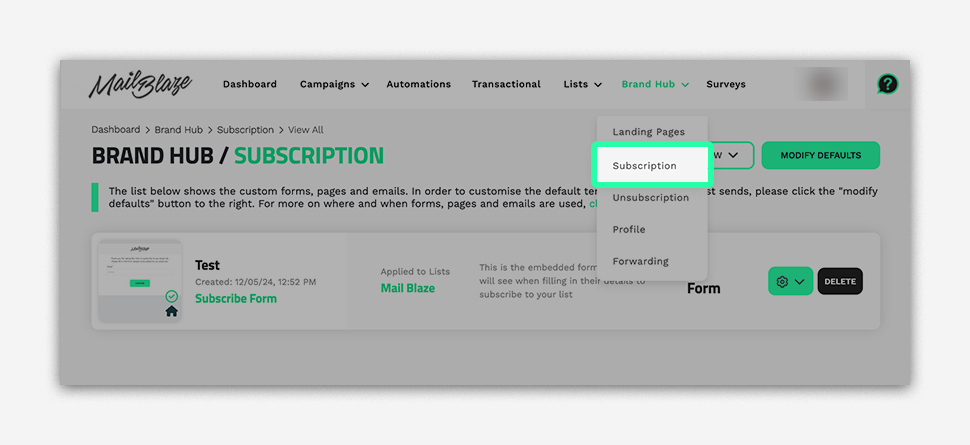
Click on the MODIFY DEFAULTS
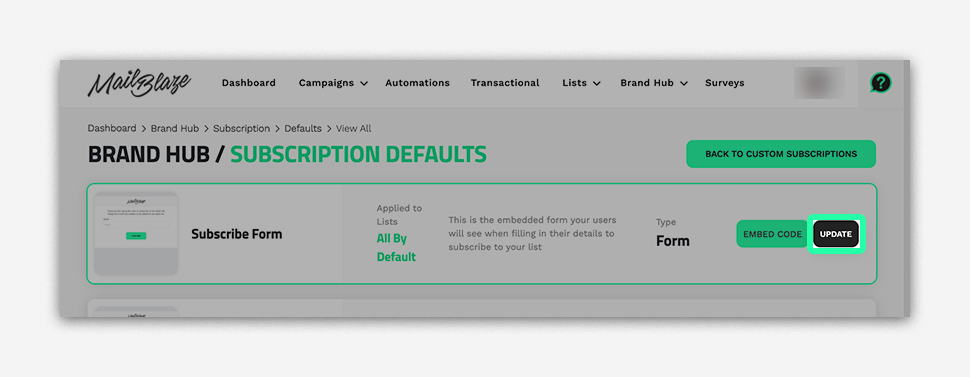
In the SUBSCRIPTION FORM, click on UPDATE
Customise the form fields by adding or removing fields according to the information you want to collect from subscribers. Personalise the design by selecting colours, fonts, and styles that align with your brand identity. Add a compelling call-to-action to encourage visitors to subscribe to your mailing list.
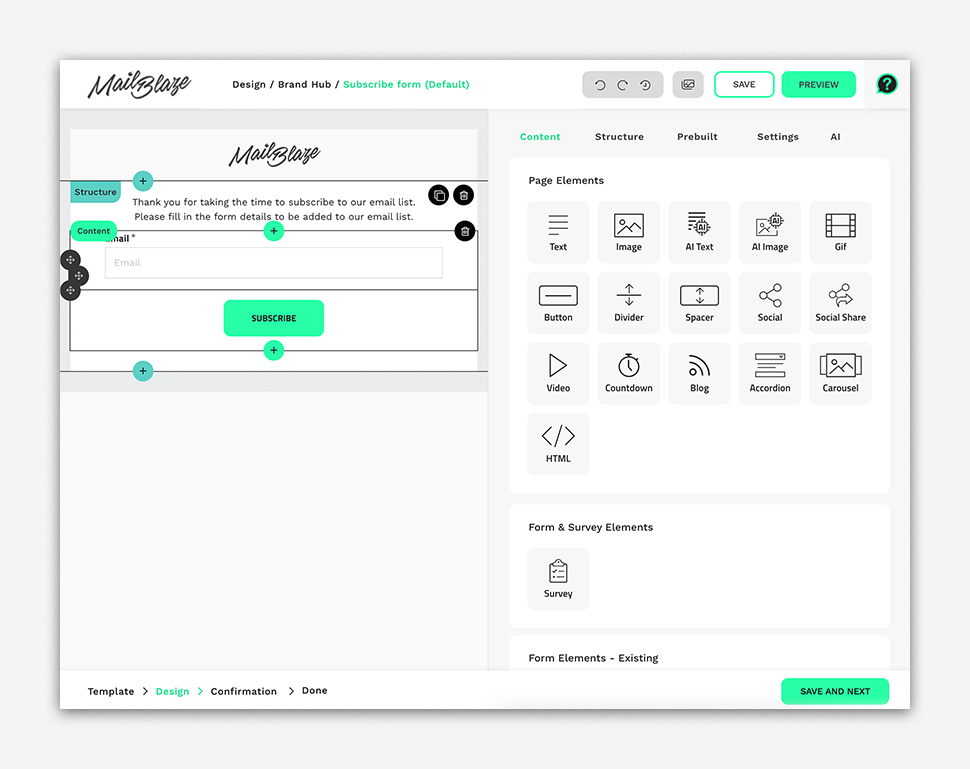
Preview your form to ensure it looks and functions as desired then finally click on SAVE AND NEXT.

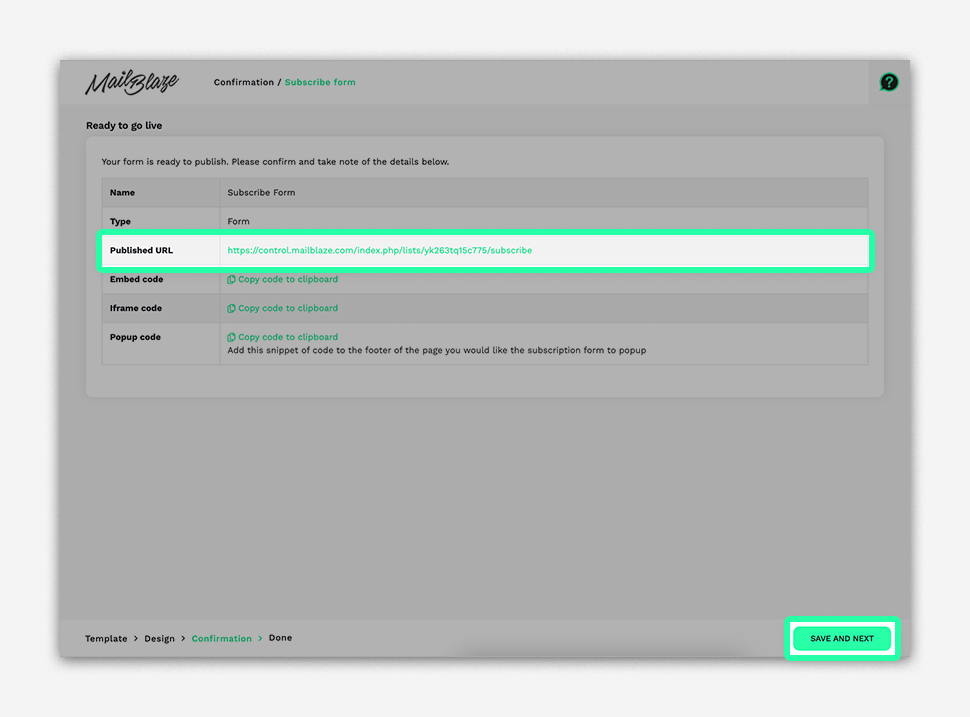
You’ll now see your Subscription Form summary, including the PUBLISHED URL, which you can integrate into your website to gather new subscribers. Now click on SAVE AND NEXT.
You can follow the same instructions to modify the defaults for your unsubscription, update and forwarding workflows.
SUBSCRIPTION
Looking to create the perfect subscription process for your business? Let’s start by taking a closer look at how you design your subscription forms.
It’s important to collect sufficient information about your subscribers when they sign up to ensure you have enough information to engage with your audience and segment them as needed in the future.
A great starting point is ensuring you get your audience to sign up to your list and enable them to know exactly what they can expect from you.
You can customise the following forms, pages and emails in the Brand Hub that relate to your audience's sign up journey.
You can follow the step-by-step instructions in this guide: How to customise your subscription workflow.
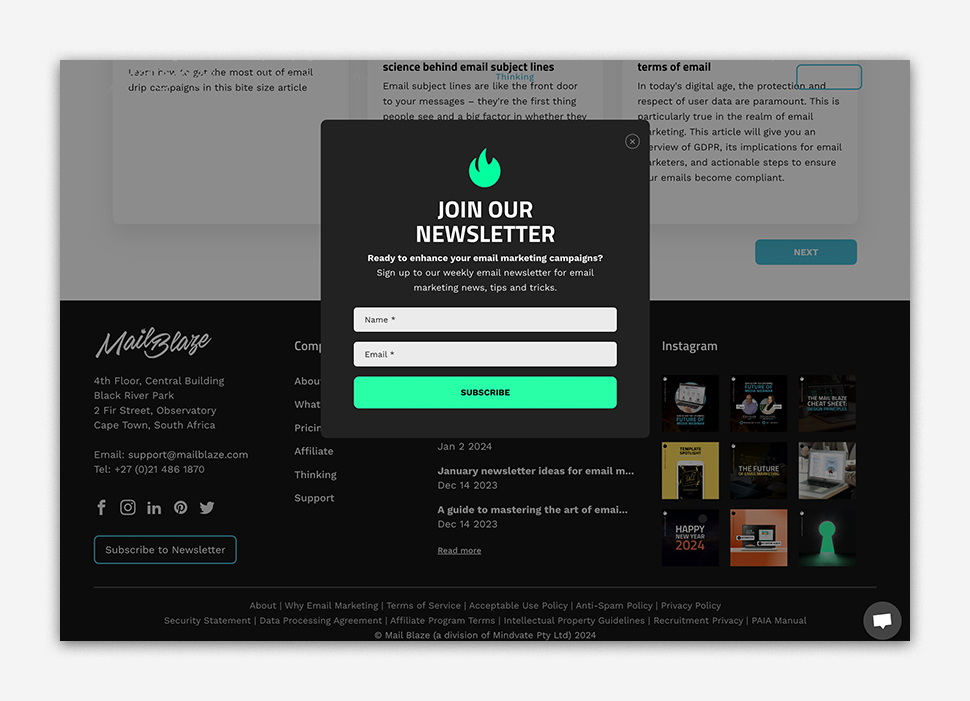
Form: Subscription Form: This is the form that your website visitor will fill out to be added to your subscription list.
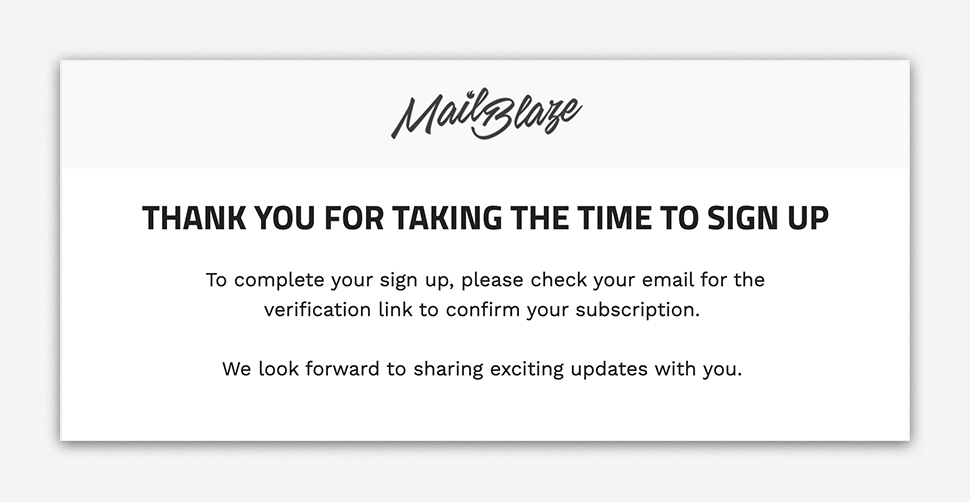
Pages: Pending Subscribe: This is the webpage your website visitor will see after they have filled out the subscription form to be added to your subscriber list.
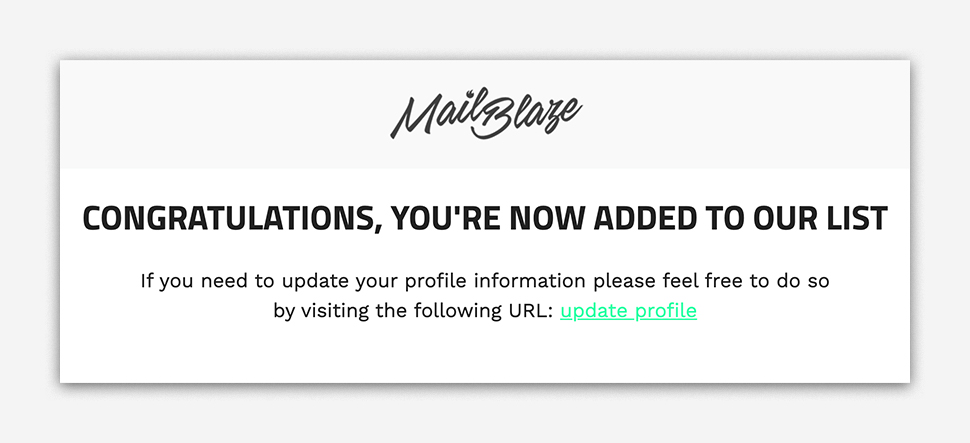
Subscribe confirmed: Once your subscriber has clicked on the confirmation link in the email, they will be redirected to a page that lets them know that they are good to go.
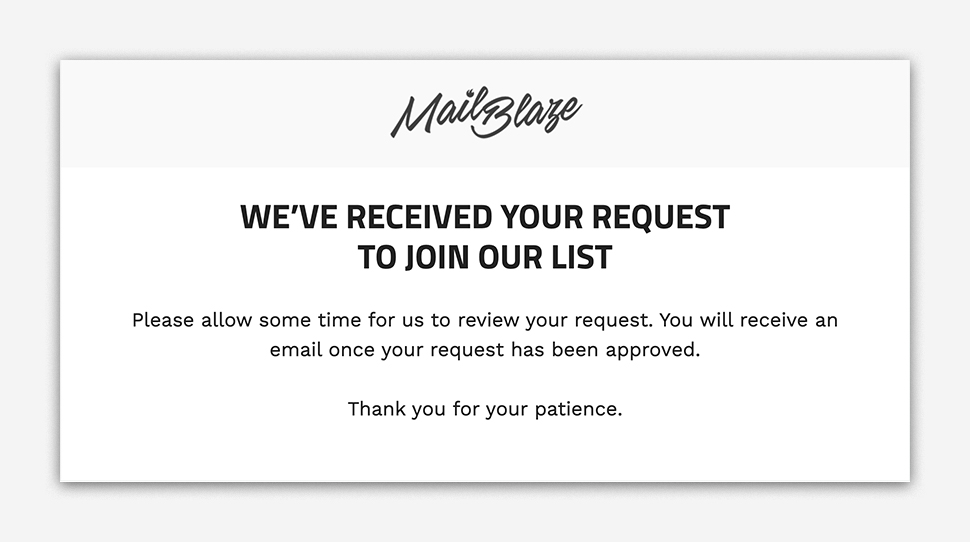
Subscription confirmed approval: This is the page a visitor will see once their subscription has been approved.
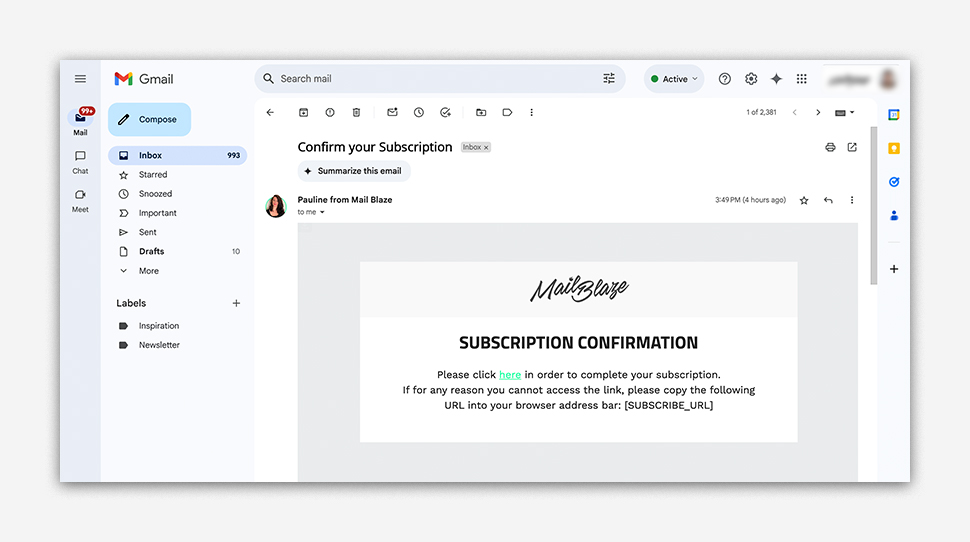
Emails: Subscribe confirm email: This is the email a website visitor will receive to verify that they want to subscribe to your email list.
Subscription confirmed approval email: This is the page your website visitor will see once they have clicked on the button in the email to confirm that they have been added to your subscription list.

UNSUBSCRIPTION
It’s important to give your subscribers an easy way to unsubscribe. While we recommend double opt-in for subscribing, we recommend single opt-out for your unsubscribe process.
You can customise the following forms, pages and emails in the Brand Hub related to unsubscription.
You can follow the step-by-step instructions in this guide: How to customise your unsubscription workflow.
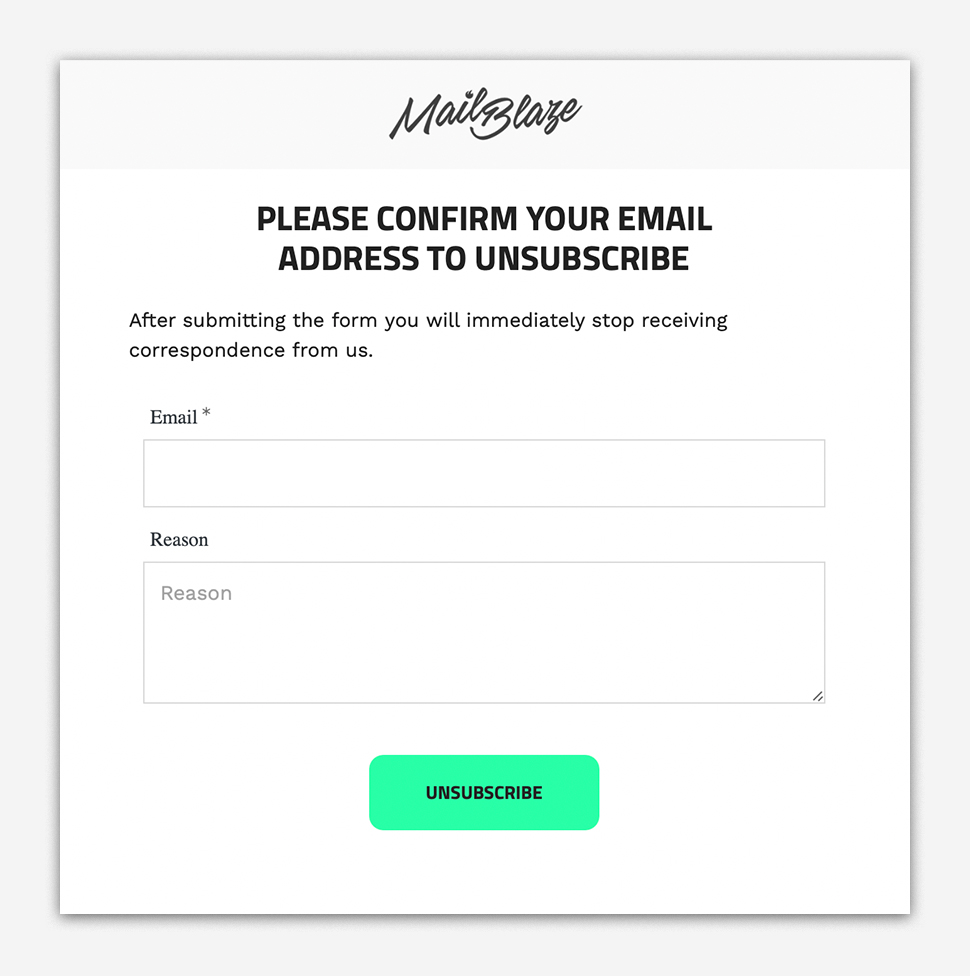
Form: Unsubscribe form: This is the form your subscriber will be linked to when they want to unsubscribe from your mailing list.
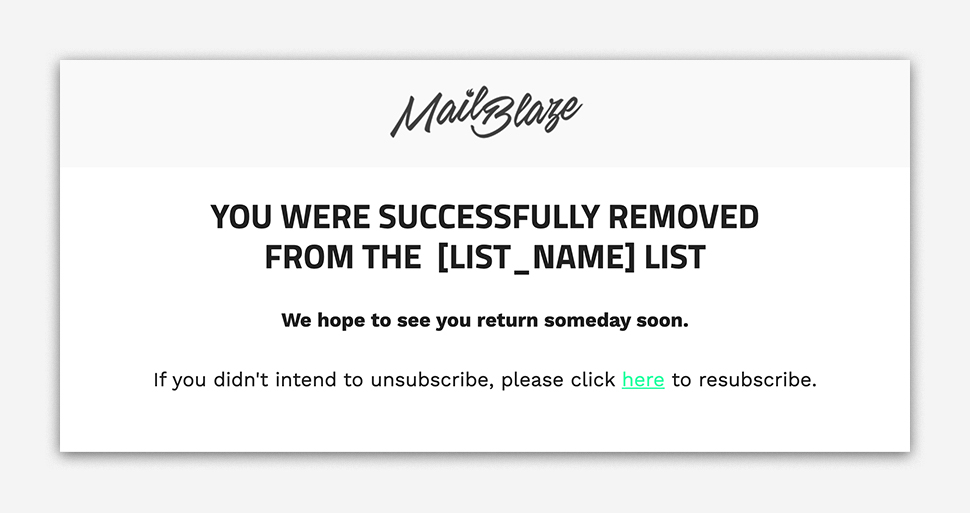
Page: Unsubscribe Page: Once the subscriber has filled out the unsubscribe form, they will be redirected to the unsubscribe page which informs them that they have successfully unsubscribed from your mailing list
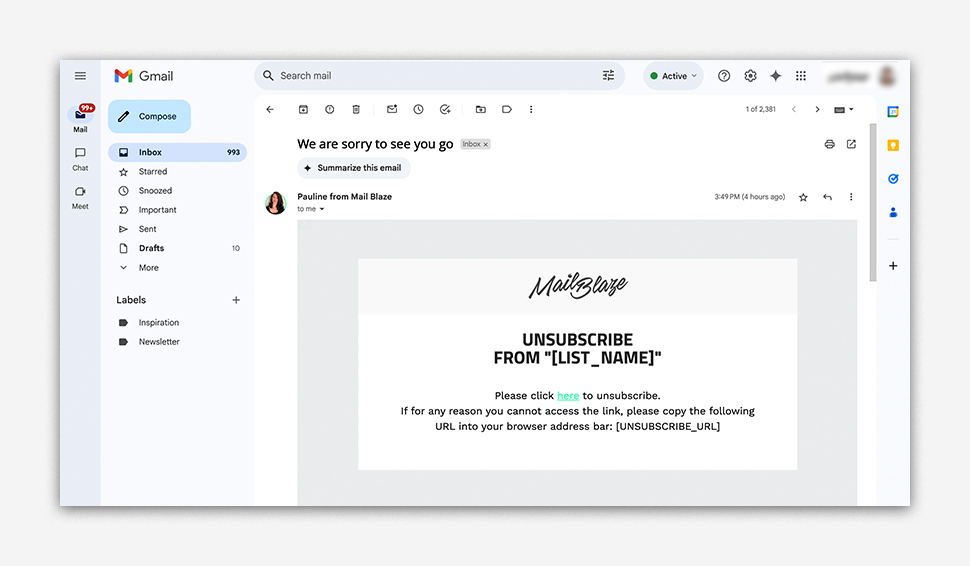
Email: Unsubscribe Email: This email will be sent to your subscriber informing them that they have successfully unsubscribed from your email mailing list.
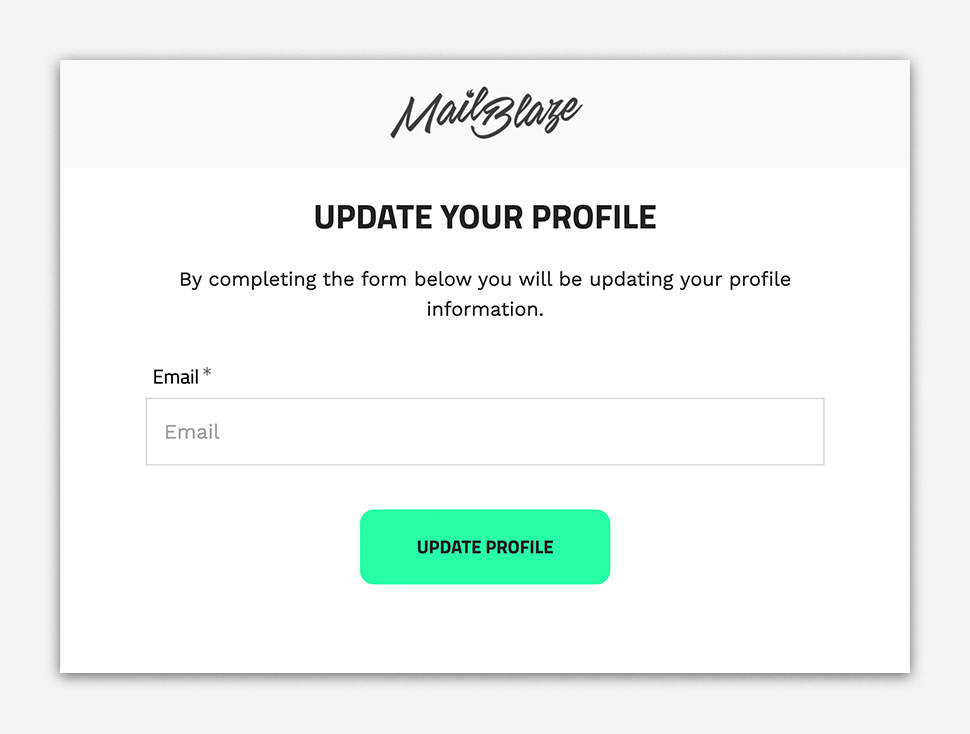
PROFILE
When you’re managing personal information you’ll want to ensure you give your audience a way to easily update their information and this is where the profile update form comes in handy. This form allows you to add a link to your campaigns that directs your subscriber to a form that allows them to update their information.
You can follow the step-by-step instructions in this guide: How to setup your List Profile Settings.
Form: Profile Update Form: This page allows your subscribers to easily update their information. We’d recommend mirroring the information you obtained from the subscriber in the subscription form to ensure that there are no gaps in your data. Here your subscribers can choose to update their email address or any other personal information that you’ve gathered in one quick form.
If you have any questions, please feel free to reach out to our support team who are ready to guide you.