How to Use Tags for Personalisation in Your Campaigns
Personalisation helps make your emails more relevant and engaging by addressing subscribers with their own information, such as their name. Mail Blaze allows you to personalize your campaigns easily using TAGS, which dynamically pull subscriber data into your email content.
Using Tags in Your Campaign Design
You can add personalisation tags directly into your campaign design by inserting the appropriate tag enclosed in open and close square brackets [ ]. When the email is sent, Mail Blaze automatically replaces the tag with the subscriber’s information. Please refer to this ARTICLE on how to view the existing tags in your list.

Using Tags via the Text Editor
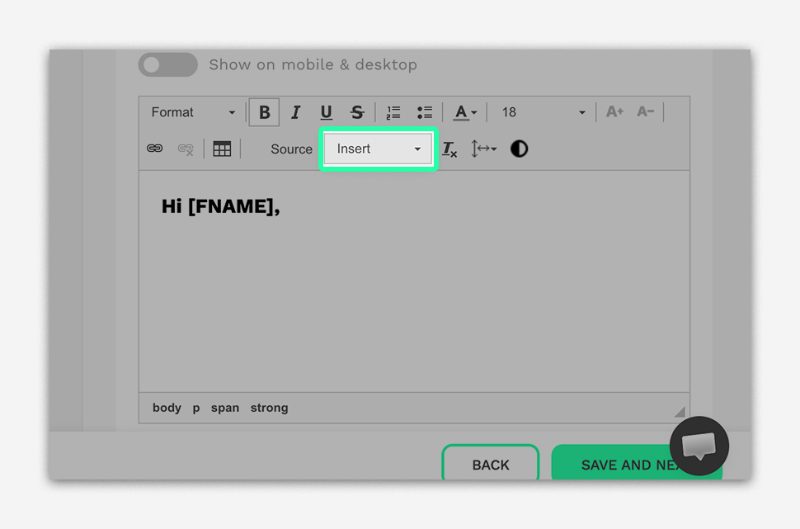
Alternatively, you can insert tags using the built-in Text Editor:
- Open your template or campaign design and click on the TEXT EDITOR.
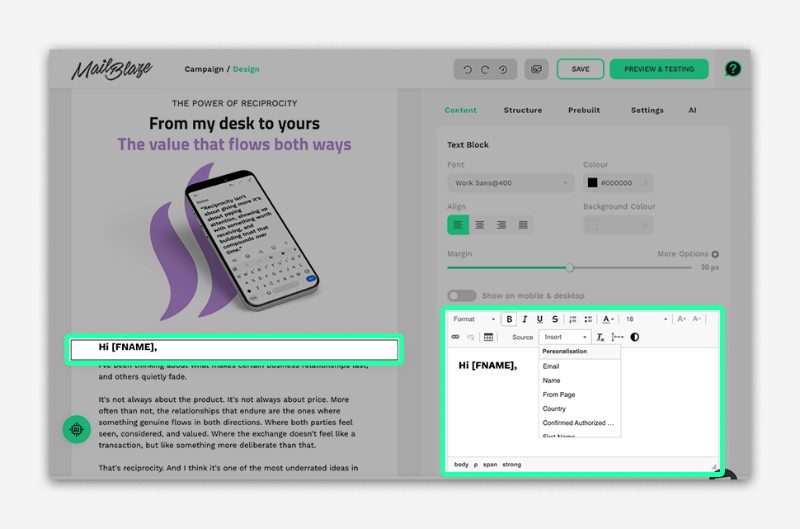
- Select the INSERT option.
- Choose from the available TAGS (for example, First Name).
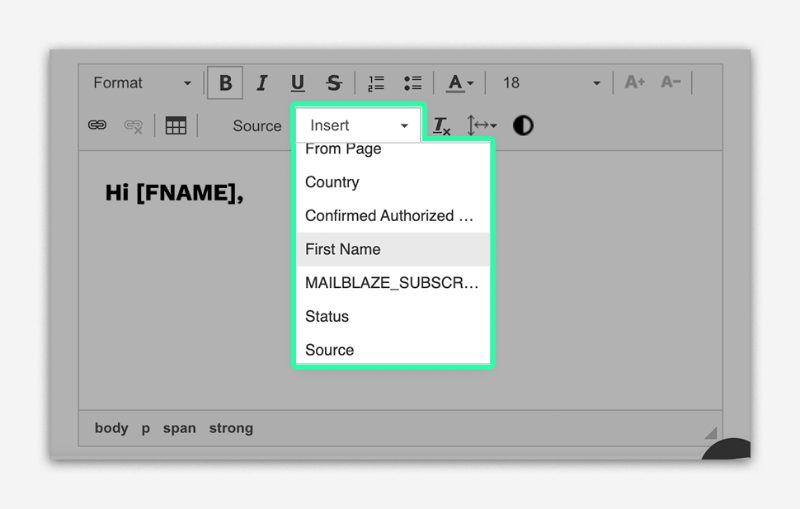
The selected tag will be automatically added to your campaign design in the correct format.
How Subscribers See Personalised Tags
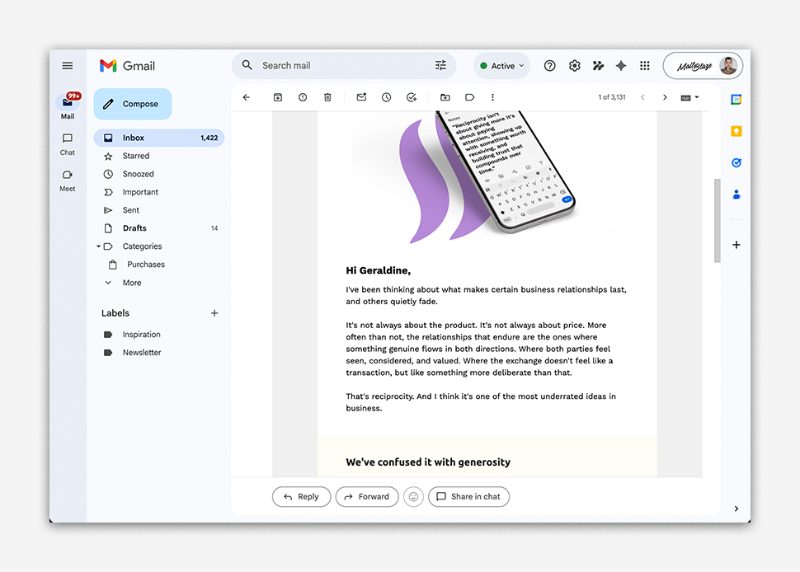
Subscribers do not see the tags themselves. Instead, they see the actual data associated with their profile. For example:
- If your campaign includes Hi [FNAME].
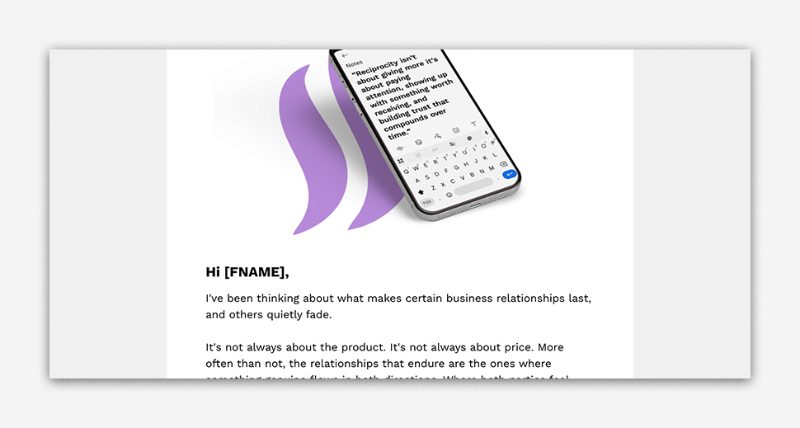
- A subscriber named Geraldine will see: “Hi Geraldine,”
- If the subscriber’s first name is not available, the tag may appear blank or follow your account’s default fallback behavior.
Each subscriber receives the same campaign, but the content appears personalised based on the information stored in their subscriber record. Using personalisation tags allows you to create more personal and engaging emails, improve open and click rates, and build stronger relationships with your subscribers. It ensures that each subscriber receives a tailored message automatically, helping you deliver a more relevant and effective email experience.